Monday, May 28, 2012

A Crafty Memorial Day!


Warning: This post contains lots of pictures!

So things have been a little crazy around here lately but it's the good kind of crazy! This past week I signed my contract at my new school and got to walk around and check out the part of the building that 1st and 2nd is going to be in. It's so exciting! I think next year is going to be awesome!

As excited as I am for next year there is still the reality of ending this year to deal with. We have 4 more days of school which means I have 4 more days to pack up all of my stuff - which I have a lot of! Since I won't be able to get into my new room until at least mid July, I'm storing all my stuff in my apartment for the time being. As of right now it looks like this.

 Sadly, I still have a bunch more stuff to move. Yikes!

Having all my classroom stuff at home was a big help today as I tackled several craft projects. I spent most of my day out on my front stoop painting, gluing, and glittering. It was a nice way to spend the day off!


Mia, my trusty sidekick. 


One of my first projects of the day was to turn some brown flats I got for $3 at the Salvation Army into glitter flats! I love the freedom of thrifting. It was so nice to undertake a project and know that if I screwed it up I'd only be out a few bucks! They turned out great. I found the idea through Pinterest. You can get all the instructions here .


 As I was walking through Walmart this morning getting supplies for crafts I came upon these precious pre-painted wooden shapes and just had to have them! I'd been wanting to make some pointers after seeing Sarah Cooley's post about them. I just added them to a bucket with a little tissue in the bottom so they would stand up higher, tied on some scrap ribbon. They turned out pretty cute don't you think?


Of course I just had to cutesy them up a bit by spray painting the dowels and adding lots of glitter. I think the guitar is my favorite!

I found this poster on Pinterest last week and just fell in love with it. I decided to create my own to hang in my room. I think it's such a great message to send to kiddos.


 Another non school related project was a magnetic makeup board for my bathroom. Again, this was an idea I found on Pinterest that I really wanted to try. I used a metal magnetic board I got from Ikea years ago, sanded it a bit and painted it with chalkboard paint. I picked up a a paper pencil cup and some magnets and put everything together. I love having everything in one place! I think I'll get some chalk markers so I can write messages and change up how it's decorated.


Last but not least, I spray painted a bunch of clothespins in my colors of orange, green and pink to use in my classroom next year. I really want to make these super cute clips to hold student work.


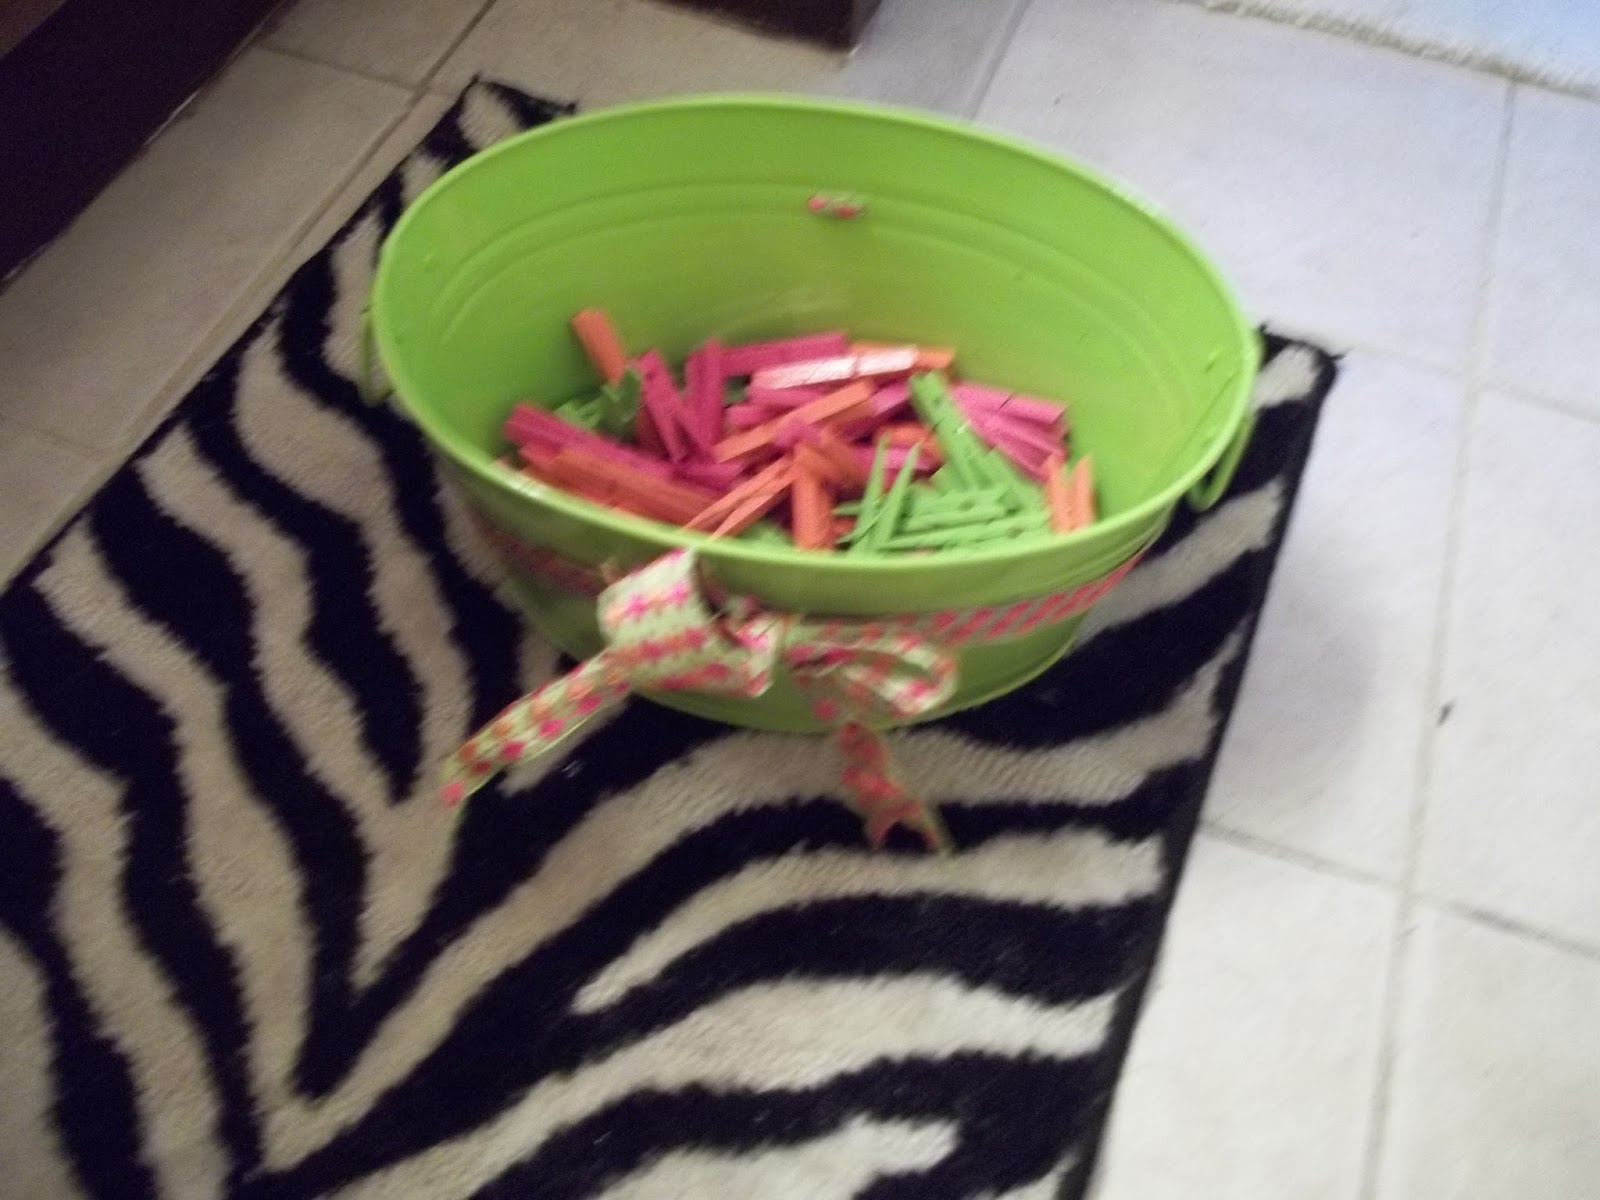
I even painted some with chalkboard paint to use for my clip chart. I plan on writing student's names on them with chalk pens so that I can reuse them!


 So that's all the fun stuff I got done today. Can you tell that I am completely addicted to Pinterest? 

Hope you all are having a restful Memorial Day. I'm off to wash all the paint and glue and glitter off and work on my report cards! Only 4 more days until summer!


Sunday, May 20, 2012

First Grade Here I Come!

So, as my post title would suggest, I got a job for next year! I'll be teaching 1st grade at a charter school and I could not be more excited! I've been co-teaching Kindergarten at a private school for the last 4 years so I am so ready to make the move to public school and to have my own classroom!

My feelings are a little like this...

 Mixed with these...


 With just a touch of..

I've wanted to have a classroom of my own since I decided to be a teacher on my first day of Kindergarten. I can't wait to share with you all the awesome things I'll be doing over the summer & next school year. Hope you are having a restful Sunday!


Friday, May 11, 2012

Money, Money, Money... Money!

 I have had the O'Jays - For The Love Of Money stuck in my head for the last 3 days as we've started learning about money this week! 

We started the unit by talking about the coins using the adorable poems pictured below. They really help! My favorite part of the lesson was when I was discussing why we have coins with my kiddos. I explained that coins were a way to break down the 100¢ that equals a dollar. I asked why I couldn't just use half a dollar to pay for something that costs 50¢ since they are worth the same. I pulled out a fake paper dollar and ripped it in half and they went crazy! There were lots of surprised looks and hushed whispers along with shouts of "She really ripped it! She ripped a dollar!" It was too funny!


 To practice coin recognition we played a fun game where I gave the kids a 5x5 grid and a handful of play money. They placed one coin in each square. I rolled a number cube with pictures of the coins and they removed whichever coin I landed on. The first one to clear off their board wins! I used the following cards to help those who had some trouble distinguishing the coins. I printed mine on colored card stock and attached coin die cuts from Dollar Tree.


You can get the blank cards here.

Next week we are going to play money bingo. This game is bingo with a twist. Kids who still need help matching coins with their values will randomly choose a coin and place it with it's amount to get 4 in a row. Those kids who have this down will roll a number cube to determine the number of coins they can choose and add them together to match to the values & get 4 in a row. You can find the file in my TPT store here.


I hope all of you are having a fabulous Friday! TGIF!


Wednesday, May 9, 2012

Glitter, To-Do Lists, & Freebies!

As I'm driving home today, the sunlight hits me just right and I realize that I am just covered in glitter. I mean like creepy sparkly vampire covered. I was working on a project today so I figured I probably had some on me but I had no idea! Thank God I didn't have any after work errands to run. Has that ever happened to y'all? It never fails for me: after work errand + close proximity to a cute guy = definite smudge of paint, marker, glitter, or some other kind of crafty schmutz on my face that I find after the fact. It just comes with the job I guess.

So, they say that a clear desk equals a clear mind. I'm not so sure my mind is all that clear but man, look at my desk!


(Insert chorus of angels here.) I've been in hyper organization mode lately and my desk was a recent project.  My desk is usually pretty neat but of course I've been in the mood to streamline everything so now it's uber neat!. So that brings me to what I have for you today. More freebies! If you look closely at my desk you will see my to do list. Its just a piece of paper I printed and put in a frame from Dollar Tree. I just use a dry erase marker to write stuff and erase when I'm done! 

The one you see is what I made at the beginning of this school year. I've recently revamped it to match my new color scheme and cute labels. Now, if only I could pick which one I want to use first! You will find the one pictured above as well as the new ones below. Enjoy!


All four are also in my TPT store here.

Oh, and before I forget, the super awesome digital paper I've been using to create my stuff can be found at Mel Stampz awesome blog here. Happy Wednesday!


Sunday, May 6, 2012

Organization Makes Me Happy


So as I'm downloading all the free goodies from the awesome teacher appreciation jackpot going on today, I thought I'd share an awesome tip! Use adhesive laminate to attach labels to plastic boxes. Duh! Why didn't I think of that before?

So as of right now, I don't know where I'll be teaching next year. With a less than a month left of school, I'm doing a lot of organizing and separating my personal stuff from that of my co-teacher. I usually keep my things in plastic containers and label the front with tape. It works well but isn't all that cute. Things are organized but they don't really look that way.

That's where the loveliness of clear laminate comes in! I bought the laminate that comes in single sheets - not the pouches - and cut it to be a little bigger than my labels.  

Then all I had to do was put the label front side down onto the laminate and attach it to the box. SO easy! I usually use packing tape to do this kind of thing but this was so much easier, neater looking and more durable. Now I'm thinking of how many things I could label like this!


Ah, I feel so much better now! It's nice to have everything nicely organized, labeled and looking cute. Now if only everything else in my life could be this organized! 


Saturday, May 5, 2012

Welcome to The Teacher Brain

So after many many months of blog stalking and using the great ideas I've been finding I've decided to take the plunge and start a blog of my own!  So you might find yourself wondering, "The teacher brain? What the heck is that?" Well I'm glad you asked! The teacher brain is the part of your brain that kicks in a random times and makes you think "Oh! I could so use this for a lesson!" In my case it also causes extreme excitement over office supplies, a desire to laminate anything and everything, and many hours spent excitedly perusing Teachers Pay Teachers & Pinterest every week. I love having a teacher brain and sharing the fun the stuff that it comes up with. I hope you will enjoy it too!

Because I'm so excited about this blog, I'm starting things off by sharing some freebies! These are some business card size labels that I've made that I'm going to use to organize my things as I'm packing up for the summer. I'm including the blank files and the ones with text that I'll be using. Enjoy!